Blog
How to Conduct a DIY Accessibility Audit
A practical, step-by-step guide to running a basic do-it-yourself accessibility audit — the tools, techniques and honest limits of a DIY approach.
Published 16 June 2026By Simon Turk
Skip to contents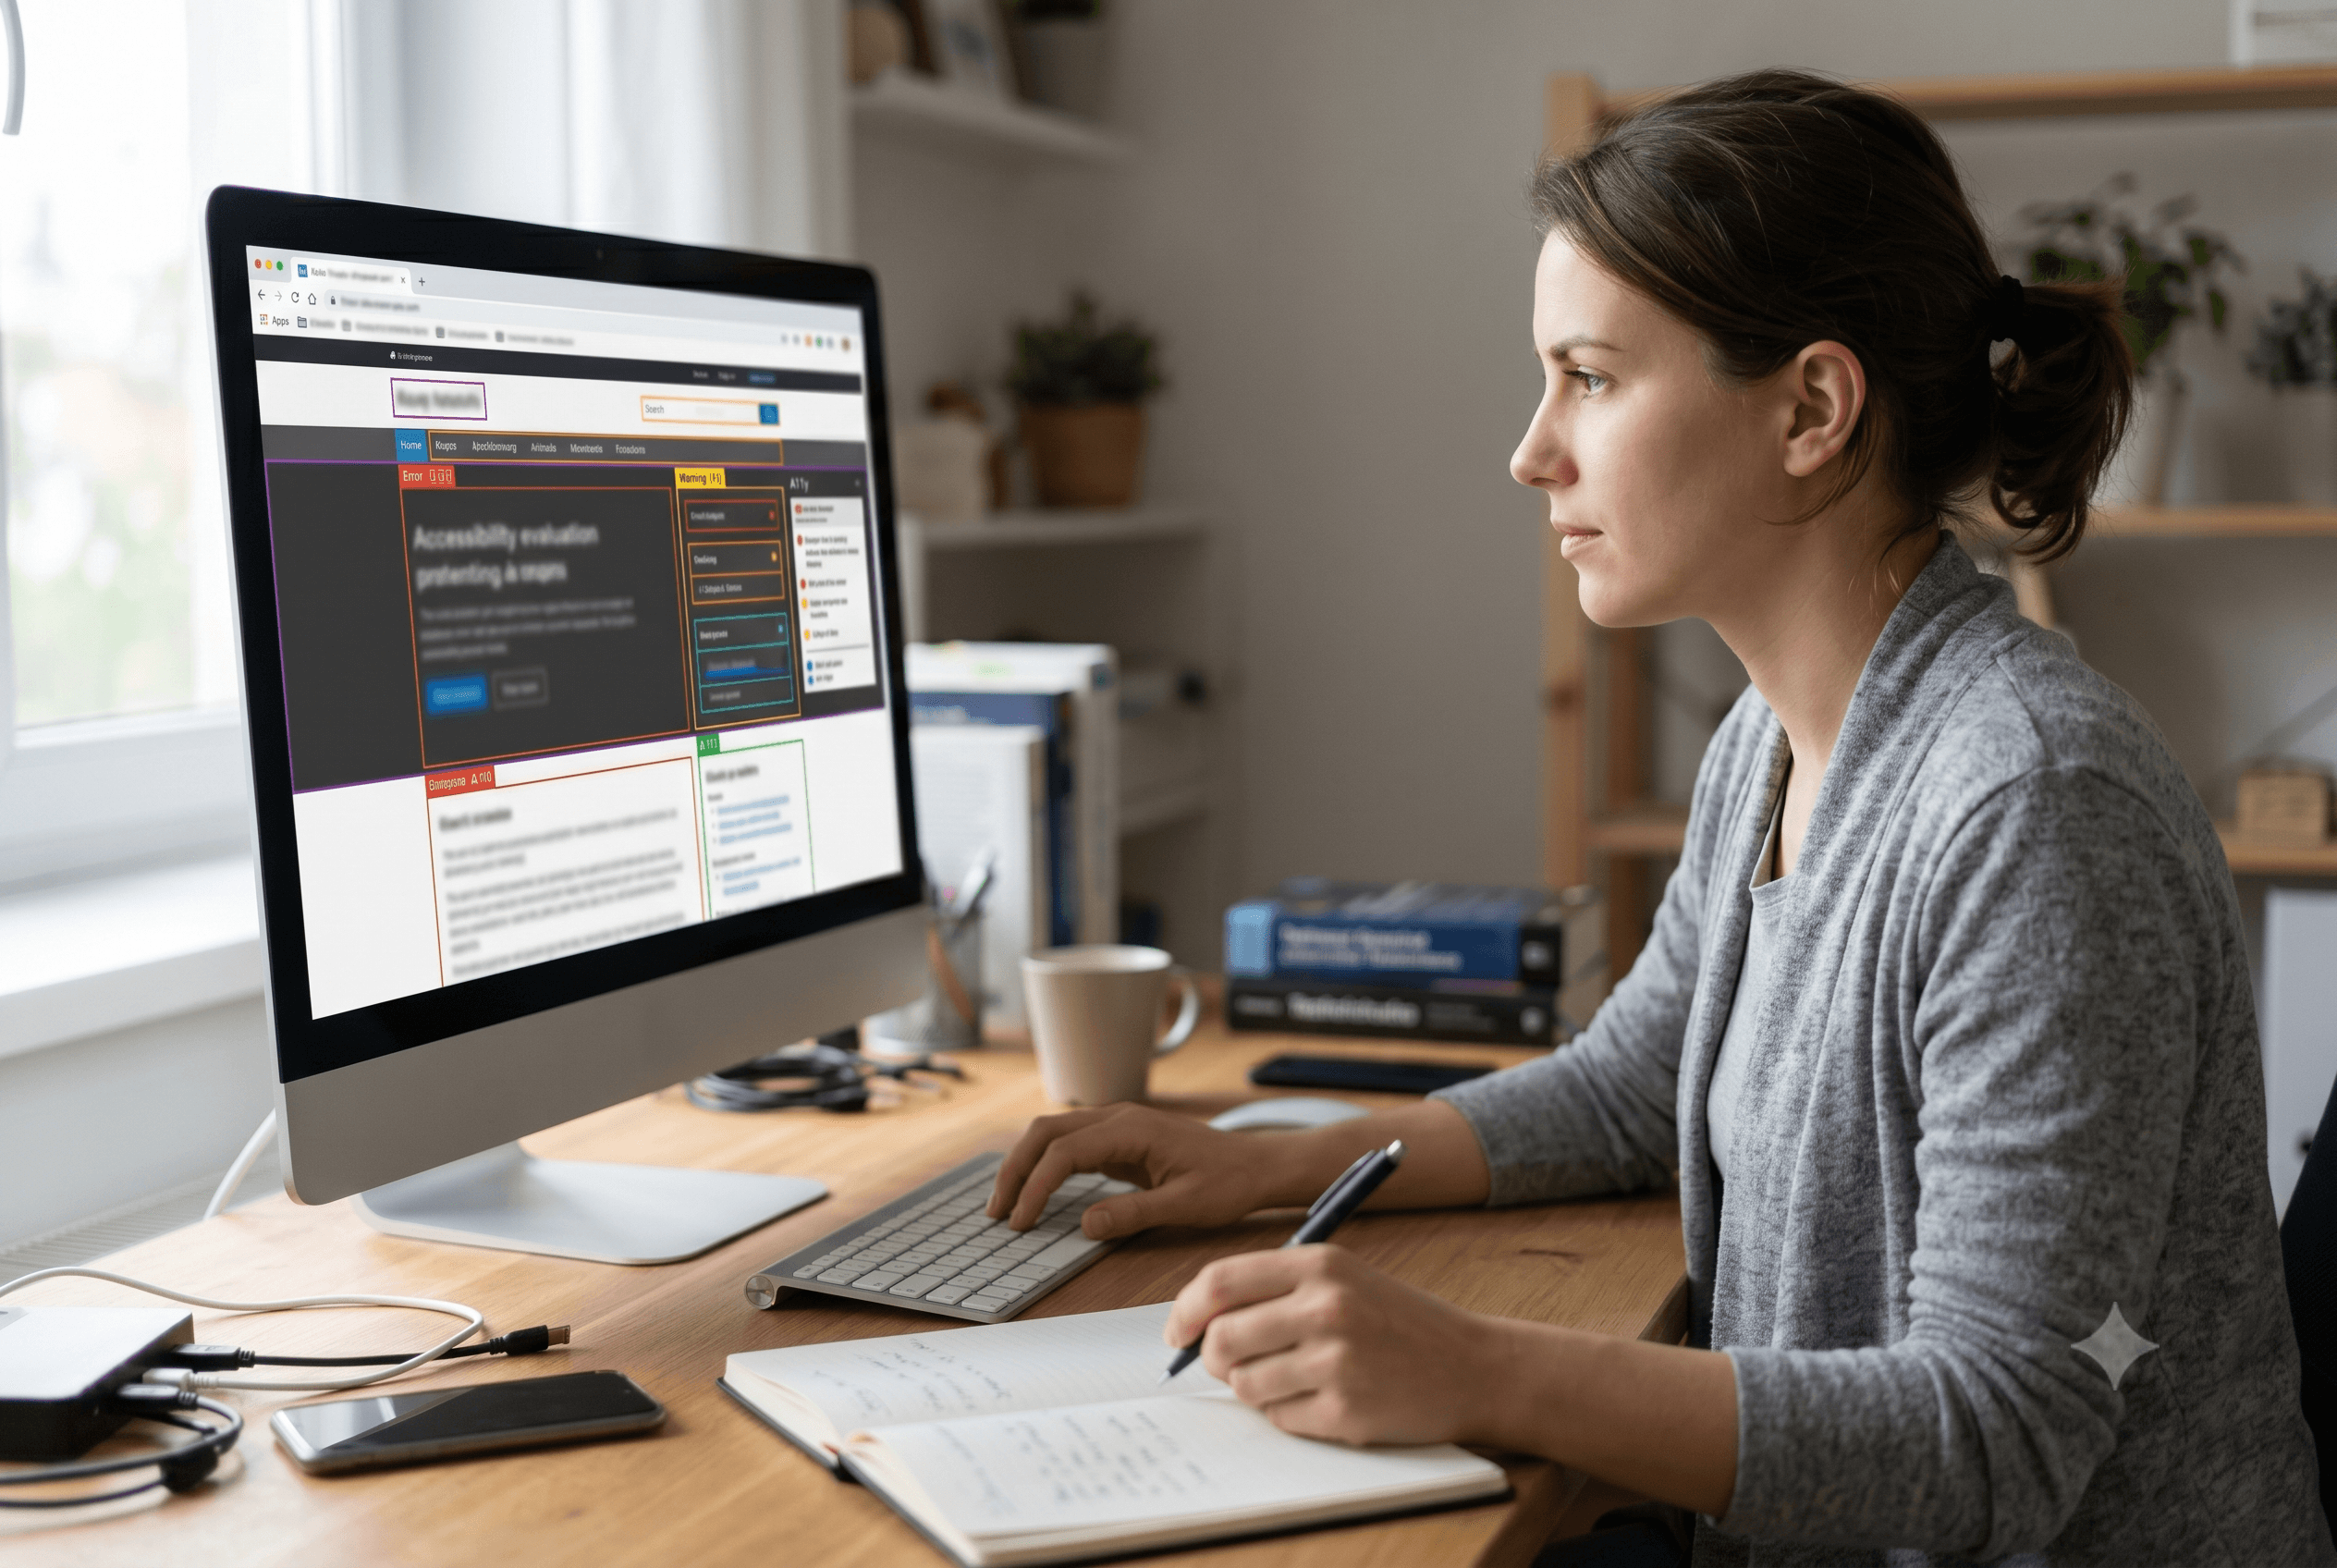

Blog
A practical, step-by-step guide to running a basic do-it-yourself accessibility audit — the tools, techniques and honest limits of a DIY approach.
A do-it-yourself accessibility audit is a useful way to build your team’s understanding of accessibility and get a sense of where your biggest issues lie. It will not replace a full expert review, and it will not produce a conformance assessment — but as a starting point, particularly for teams earlier in their accessibility journey, it is far better than nothing. Here is a practical approach.
A DIY audit without a defined scope tends to produce a long, unfocused list that is difficult to act on. Before you begin, define two things: what you are testing, and what you are testing against.
For most organisations, the right scope is your most important user journeys — the flows that customers use most frequently or that matter most to your business. For an e-commerce site, that is typically search, product, cart and checkout. For a service organisation, it might be account creation, form submission and contact. Testing a focused set of journeys thoroughly is more useful than a superficial pass over your entire site.
For the standard, WCAG 2.2 Level AA is the target for new work and the level most Australian organisations aim for. If you are not yet familiar with WCAG, a good starting point is the guide linked above — it explains the four principles and what each level of conformance requires.
Browser-based automated tools can identify a useful subset of common accessibility issues in minutes. Two widely used free options are:
Run both tools across your priority pages and document what they find. Pay particular attention to errors (which are definite issues) rather than alerts (which may or may not be problems depending on context). Do not treat the output of automated tools as a complete picture — they typically evaluate around 30–40% of WCAG criteria.
Keyboard testing is one of the most revealing manual tests you can run, and it requires no specialist tools. Simply put your mouse aside and try to complete each of your priority journeys using only the keyboard:
Document any point where you cannot reach an interactive element, cannot activate it, lose track of where you are on the page (because the focus indicator has disappeared), or find the tab order confusing or illogical. Any of these is a barrier for keyboard users — including the majority of screen reader users.
Screen reader testing gives you the closest available approximation to the experience of a blind or severely vision-impaired user. Two free options are:
The learning curve for screen reader testing is steeper than for keyboard testing, and an expert screen reader user will find issues that a novice will miss. Even a basic screen reader test — navigating by headings, checking that images are described, confirming that form fields are labelled and error messages are announced — will surface real issues.
Colour contrast is one of the most common accessibility failures and one of the easiest to check. Use the free WebAIM Contrast Checker (webaim.org/resources/contrastchecker) to check your text and background colour combinations against WCAG’s requirements: at least 4.5:1 for normal text and 3:1 for large text at Level AA.
Focus particularly on your body text, any text on coloured backgrounds, form field placeholders, and button labels. Contrast that looks fine on a high-quality monitor in a controlled environment may fail in practice for users with low vision or on lower-quality screens.
A DIY audit conducted thoroughly along the lines above will give you a useful picture of your most obvious accessibility barriers. It will not give you:
For customer-facing products, products with legal or procurement significance, or products serving a large or diverse audience, a DIY audit is a starting point, not an endpoint. When you are ready to move beyond a self-assessment, an IncluD accessibility review provides the expert manual review and lived-experience testing that a DIY approach cannot.
Q: Can I audit my own website for accessibility?
You can run a useful basic audit with free tools and keyboard and screen reader testing. This will surface your most obvious barriers and build your team’s understanding of accessibility issues. A full conformance assessment requires expert review and lived-experience testing.
Q: What is the best free accessibility testing tool?
WAVE and axe DevTools are both widely used and reliable for automated checking. Neither is complete on its own — use both, and combine them with manual keyboard and screen reader testing.
Q: When should I move to a professional audit?
When the product is customer-facing, when there is legal or procurement significance to your accessibility position, or when you need a defensible conformance assessment rather than a self-assessment baseline.